How to Install Maven on Mac
- Amruta Bhaskar
- Sep 7, 2020
- 0 Bemerkungen)
- 2755 Ansichten
Maven is a tool that is also available on Mac machine. The setup is almost similar to what we have to do on a Windows machine. Maven basics remain the same across Windows and Mac machines. However, the installation part differs.
Step 1 – Download Maven binaries
First, we have to download to Maven binaries. The latest version of Maven is Maven 3.3.3. On the downloads page above click on the link apache-maven-3.3.3-bin.tar.gz link. Here is a small screenshot for you

Once you click on this link a .tar.gz file will be downloaded in the Downloads folder. Download folder icon can be found on the upper right corner of the Safari browser window. As shown in the image below.

Step 2- Unzip the files
Now go to the Downloads folder and unzip the files thereby double-clicking on the downloaded file. In this tutorial, the .tag.gz file that we have got is apache-maven-3.3.3-bin-2.tar. Here is what you will get when you will unzip/double click the folder

Step 3 – Set the Path variable
Like on a Windows system we have to set the path variable on a Mac machine too. Path variable will have to be updated to include the path on which you will copy all your Maven libraries. After unzipping the downloaded file just open the unzipped folder. You will find a few folders inside it. There will be a folder called bin, this folder will have a file called mvn. This is the file that is used to run Maven commands. We have to mention this file path in the Path variable of Mac system. Let’s do this.
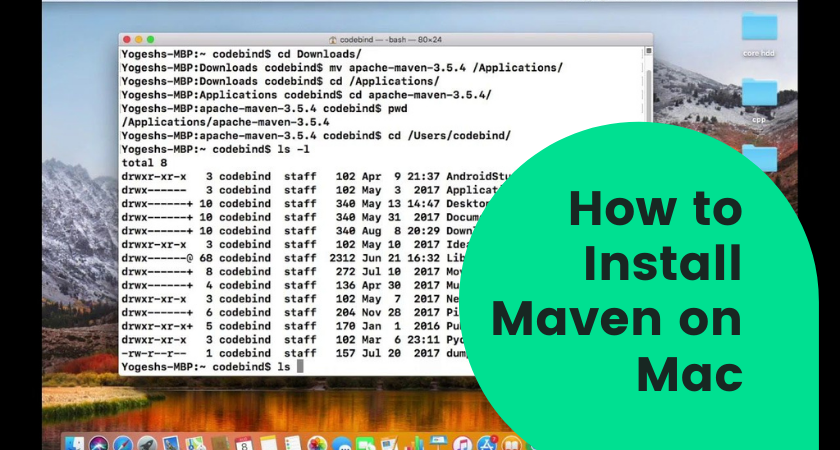
Open the terminal window on your Mac machine. You can find it using the Finder application by searching for the Terminal application. Once you have the terminal window up type in the following command to see all the environment variable
$ printenv

Now you have to find the path variable in the result of the printing command and see what all values we have in the path variable. To see only the path variable values we can type in the command
$echo $PATH

Here you can see that there is no path related to your mvn files. Lets now update the path variable to point to Maven’s bin folder.
Note: Before doing that copy the unzipped folders from step 2 to some permanent location. Use the bin path corresponding to the new maven location.
In my system the bin path of Maven folder is /Users/viren/Documents/AllBins/apache-maven-3.3.3/bin/. Just get your correct Maven’s bin folder path, the command to do that is
$ export PATH=$PATH:/Users/viren/Documents/AllBins/apache-maven-3.3.3/bin/
here we are saying that update the PATH variable with the existing value of path + the new value of Maven’s bin folder. Pay attention that: is the path separator.

Hurray! We have set the path variable to now point to Maven’s bin folder.
Step 4 – Check your Installation
This is simple all you have to do is run following command:
$ mvn -version
If this command works fine it will display the maven version and this is how it will look on the terminal window.

Now we have successfully installed Maven on a Mac machine.